Organizations
Organizations give teams the ability to organize and share topics as well as unlock addditional backstitch customization and features.
Organization Dashboard
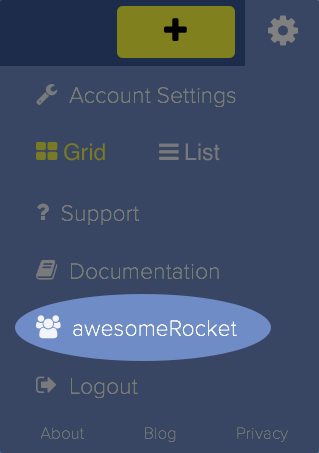
You can access your organization dashboard by clicking the settings gear in the upper right corner and selecting the name of your organization.
The organization dashboard helps you to manage your teams & topics, view analytics, customize the backstitch experience and access priority help & support.
The following sections are available within the organization dashboard:
Dashboard
The dashboard tab has three sections; Authenticated Services, Email Digest, and API Key.
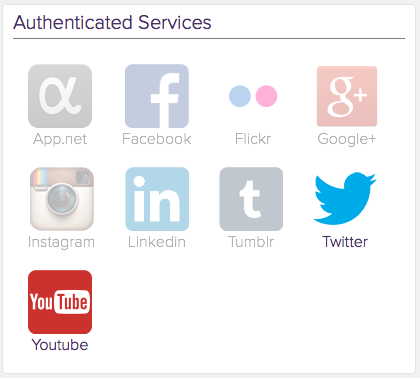
Authenticated Services
Authenticating services for your organization gives all team members access to include sources such as Facebook and Twitter into their topics without needing to authenticate using their personal social accounts.
Email Digests
Email digests gives you control over when and how often your team members receive personalized digests of content curated from the topics they’re following.

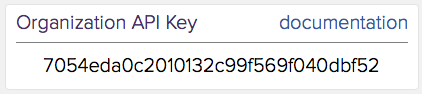
API Key
With a backstitch for Business subscription you have complete access to backstitch using our Developer API.
For more information about the developer API be sure to reference the complete API documentation.
Team Members
Invite other people to join your organization, separate them into teams, and even monitor how active everyone is.
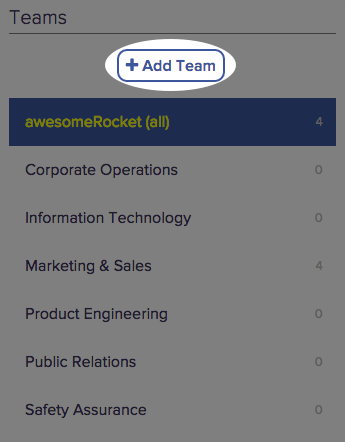
Every organization has a special team called Organization Name(all) that every team member is a part of and cannot be deleted.
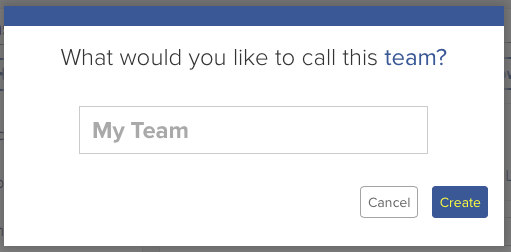
Add Team
Clicking the +Add Team button lets you to create a new team for your organization. People can be a part of multiple teams and teams can be given access to their own topics and have their own administrators.
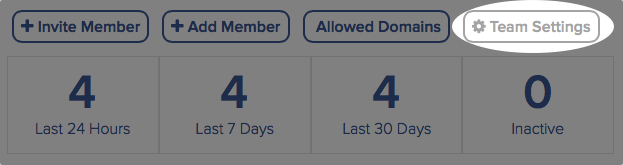
Team Settings
Click the Team Settings button to rename a team’s name or remove it altogether.
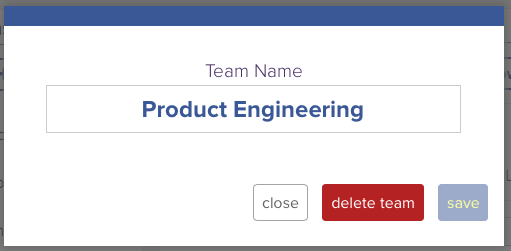
- Team Name: Change the team name.
- delete team: Deletes the team, none of the team members or topics associated with the team will be deleted.
Add Team Members
There are a several ways that you can invite and add team members to your organization.
-
Invite by Email - team members can be invited directly via email by clicking on the +Invite Member button.
typing in their email address and clicking invite.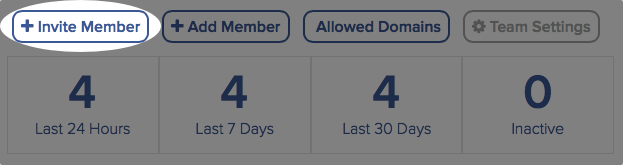 This will send them an invitation email along with instructions to join backstitch and the team you’ve invited them to.
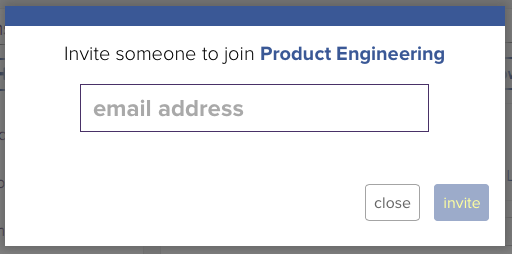
-
Allowed Domains - you can automatically give access to your organization to anyone that posesses a valid email address at specified domain. To add an allowed domain click the Allowed Domains button.
and type each allowed domain into the text box and click add.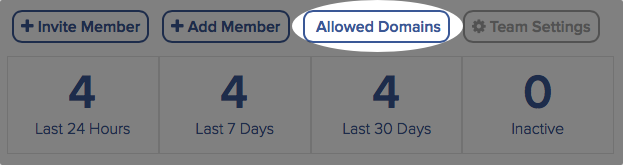 Before being added to your organization the team member will be sent an email to verify that they do in fact own that email address.
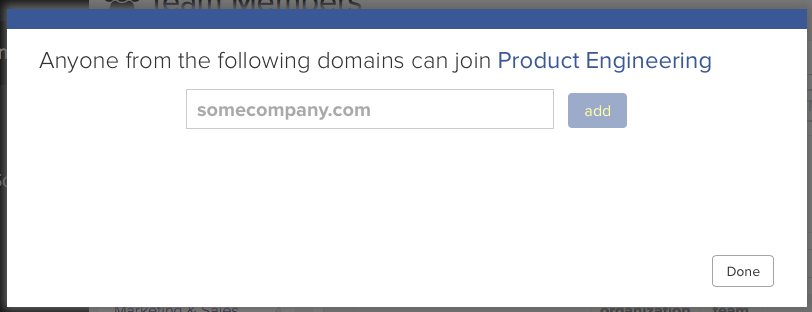
-
Adding from another team: Team members that are already a part of the organization can be added to another team by clicking on the team in the left hand column and selecting the +Add Member button.
Members can be added to this team by clicking the green + button to the left of their email. Optionally all members can be added to this team by clicking the Add all button.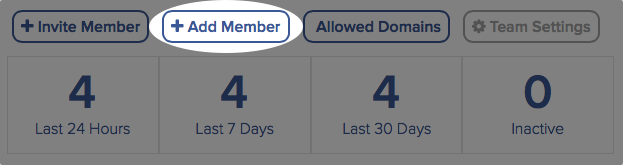

Team Member Settings

- X: remove the team member from the team.
- email: the team member’s email address.
- organization admin: give’s the team member the ability to access the organization dashboard.
- team admin: give’s the team member the ability to create and edit topics for that team as well as post to any of the team’s custom sources.
- last active: the last time the team member logged into backstitch.
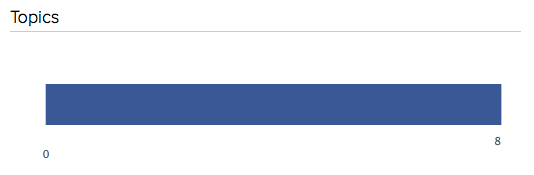
Topics
Within organizations topics can be shared with all team members or just those a part of specific teams.
Add Team Topics
There are a few ways to share topics within your organization.
-
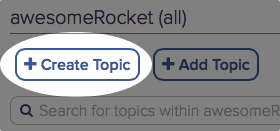
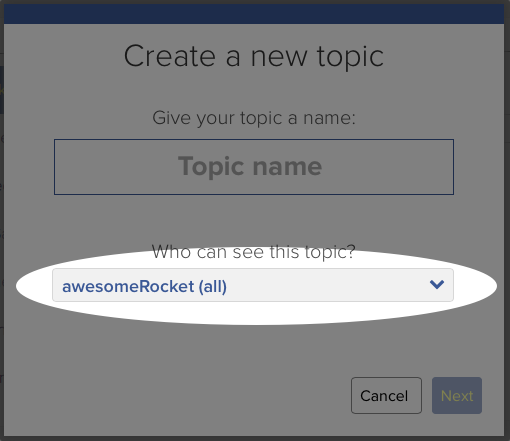
From the organization dashboard: create a new topic by clicking the +Create Topic button from the organization dashboard.
-
From the navigation bar: create a new topic by clicking the large + button located on the navigation bar, then click Create A New Topic and select your team from the dropdown.
-
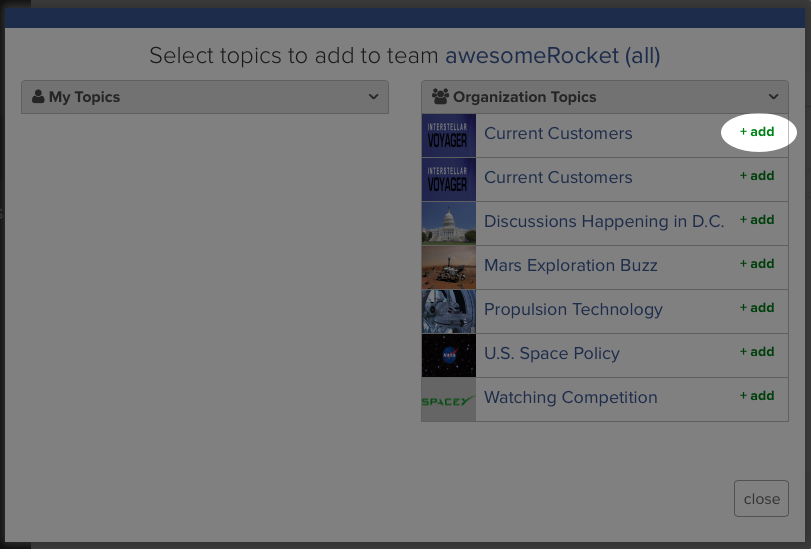
Share an existing topic: you can also share a topic from another team or one of your personal topics by clicking the +Add Topic button.
Then clicking the green +add button will add the topic to the team.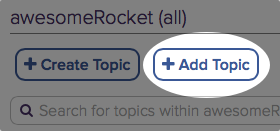
Team Topic Settings
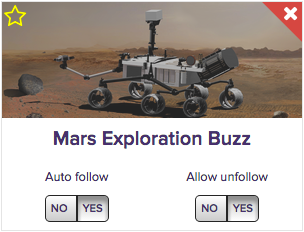
- Primary Topic (yellow star): set this topic as the team’s default topic. When team members log into backstitch they will be greeted with the default topic rather than their “What’s New” topic. (note: only one default topic can be selected per team)
- Remove Topic (red X): allows you to either remove the topic from the team (and still be accessible by you) or to delete the topic forever (this cannot be undone).
- Auto follow: causes all members of this team to automatically follow this topic.
- Allow unfollow: determines if members of this team area allowed to unfollow this topic or not.
Custom Sources
Custom sources allow team admins to post content directly into backstitch. These sources can be added to topics and filtered like any third-party source.
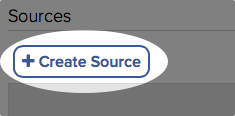
Create Source
Click the +Create Source button to create a new custom source for this team.
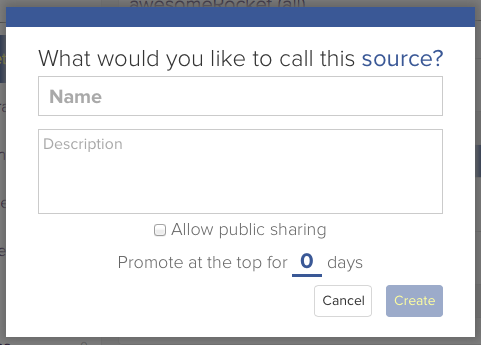
- Name: This is the name of the source.
- Description: Give a description of what the source should be used for.
- Allow public sharing: This will allow team members to share custom source posts to the public through social media or email.
- Promote to the top: Promoted posts from custom sources will always be show above content from others sources for the designated number of days.
Create Post
There are two ways to add a new post to a source.
-
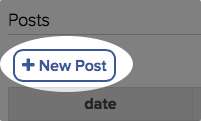
From the organization dashboard: create a new post by clicking the +New Post button from the custom sources section of the organization dashboard.
-
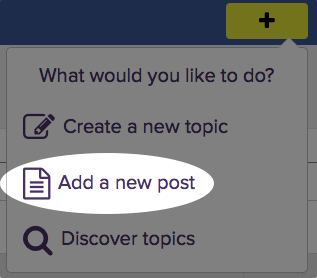
From the navigation bar: create a new post by clicking the large + button on the navigation bar, then clicking Add a new post and selecting the custom source to post to.
There are three types of posts that can be created.
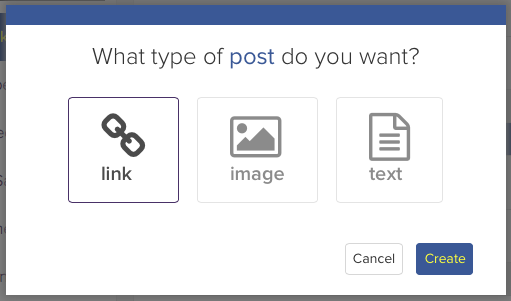
link
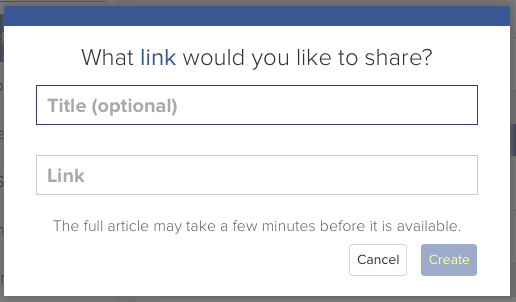
backstitch will crawl the contents of the webpage found at the specified URL and bring it into your custom source as an article.
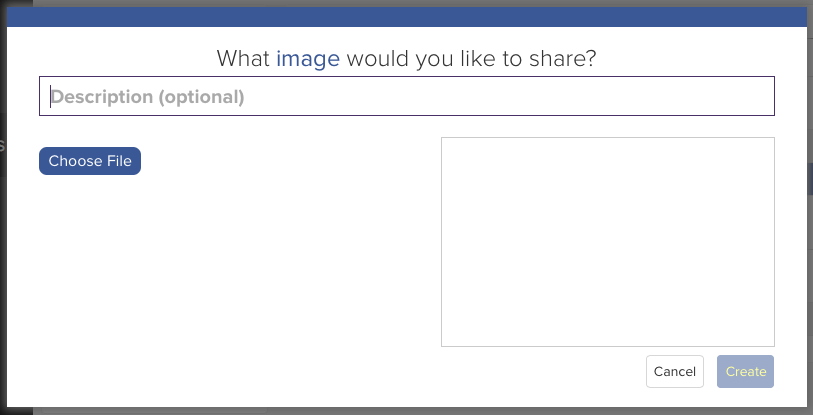
image
Upload an image into your custom source as a photo.
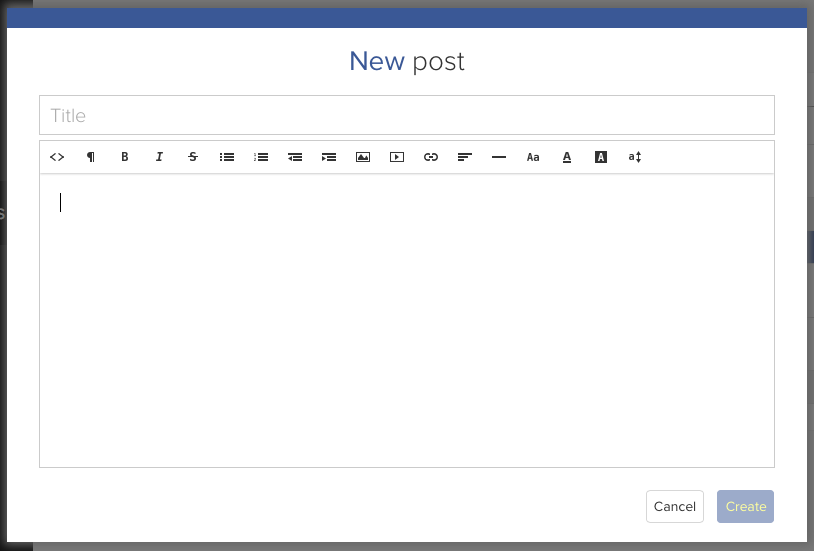
text
Author an original post and make it available in your custom source as an article.
Theme
Organizations have the ability to customize the look and feel of backstitch for your team members.
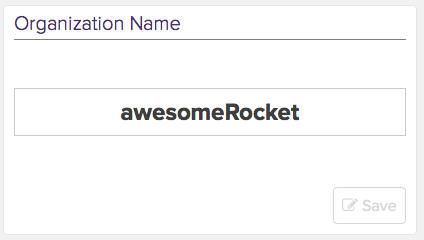
Name
You can change your organization’s name at any time. Just type the new name into the text box and click save.
Change Logo
Simply click the choose logo button, locate the appropriate image file on your computer, and then click save.
This logo will replace the backstitch logo in the upper-left corner of backstitch for your team members and will also serve as the header image for your organization’s digest emails.
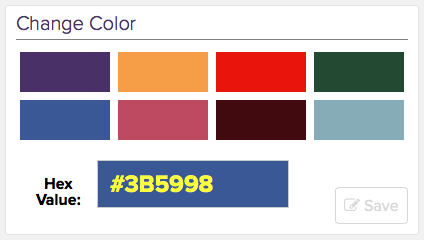
Change Color
Style backstitch using your organization’s brand color by simply clicking one of the displayed colors or type a hex value into the text box and click save.
This will change the top navigation bar as well as other accents throughout backstitch.
Display Options
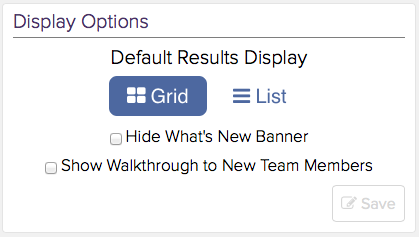
- Default Results Display: This will set the default display format for all new team members.
- Hide What’s New Banner: The banner for the “What’s New” topic will be hidden for all team members.
- Show Walkthrough to New Team Members: After a new team member has been verified they are taken to any default/auto subscribed topics or the discover topic catalog, this option will send them through a walkthrough for backstitch.
After making your changes simply click the save button.
Billing
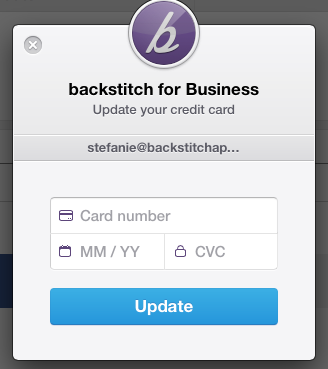
Update Credit Card
You can update your credit card by simply clicking the Update Credit Card button.
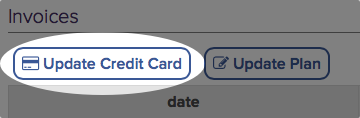
Update Credit Card
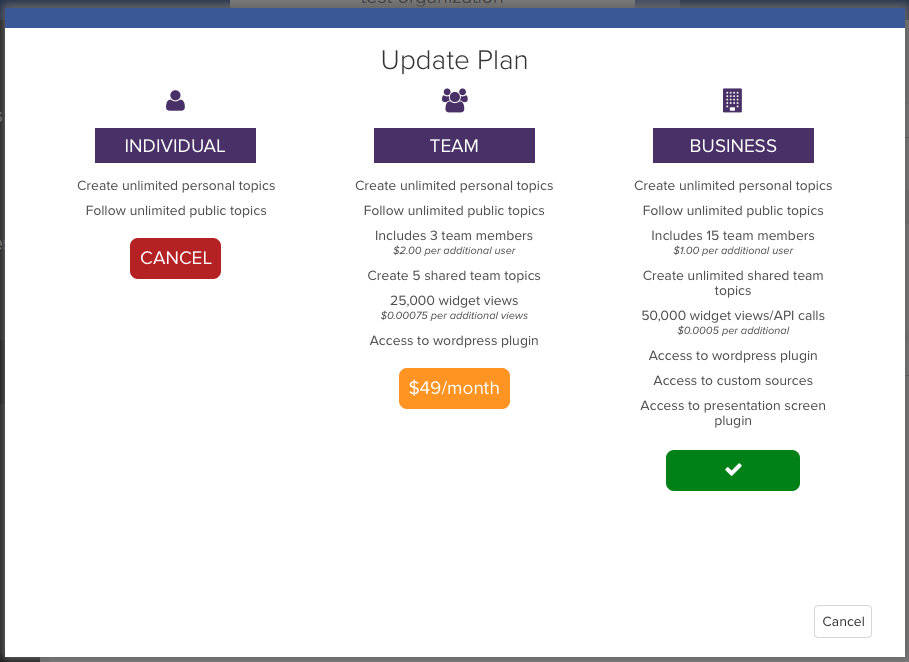
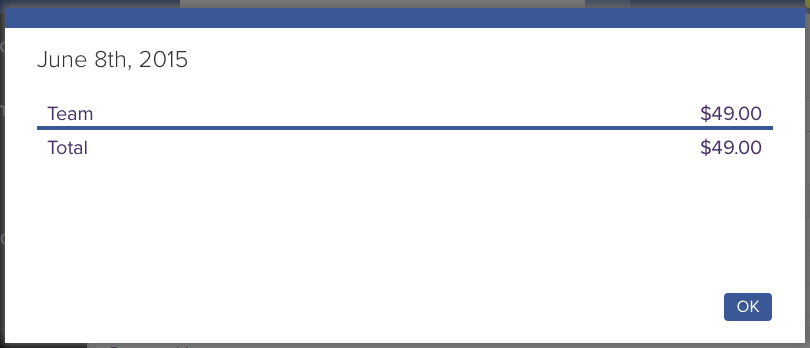
You can upgrade your plan at anytime (more information on the plans here) by simply clicking the Update Plan button. You can also cancel your backstitch plan from this screen.
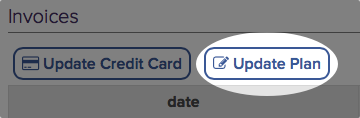
Invoices
Your past invoices can be reviewed by clicking on an invoice.

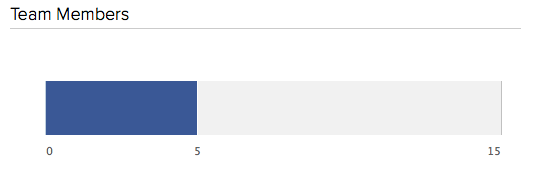
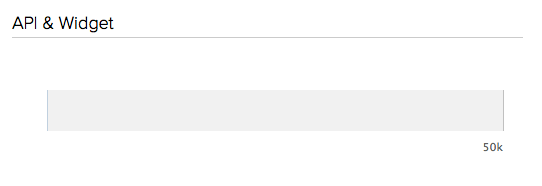
Current Usage
Your organization’s backstitch usage is shown this screen.
- Team Members: The number of unique team members that are part of you organization.
- API & Widget: How many API and Widget calls you have used in the current billing period.
- Topics: The number of unique topics the organization owns.
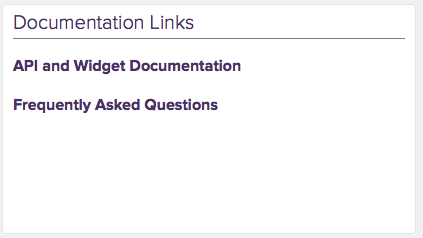
Support
In the support tab you will find links to our API and Widget documentation as well as links back to this help document for future reference.
Organization admins can submit support tickets with any comments, questions, or concerns and one of our team members will get back to them.